Tutorials
How to Build Your First Elementor Page with Vertex Addons
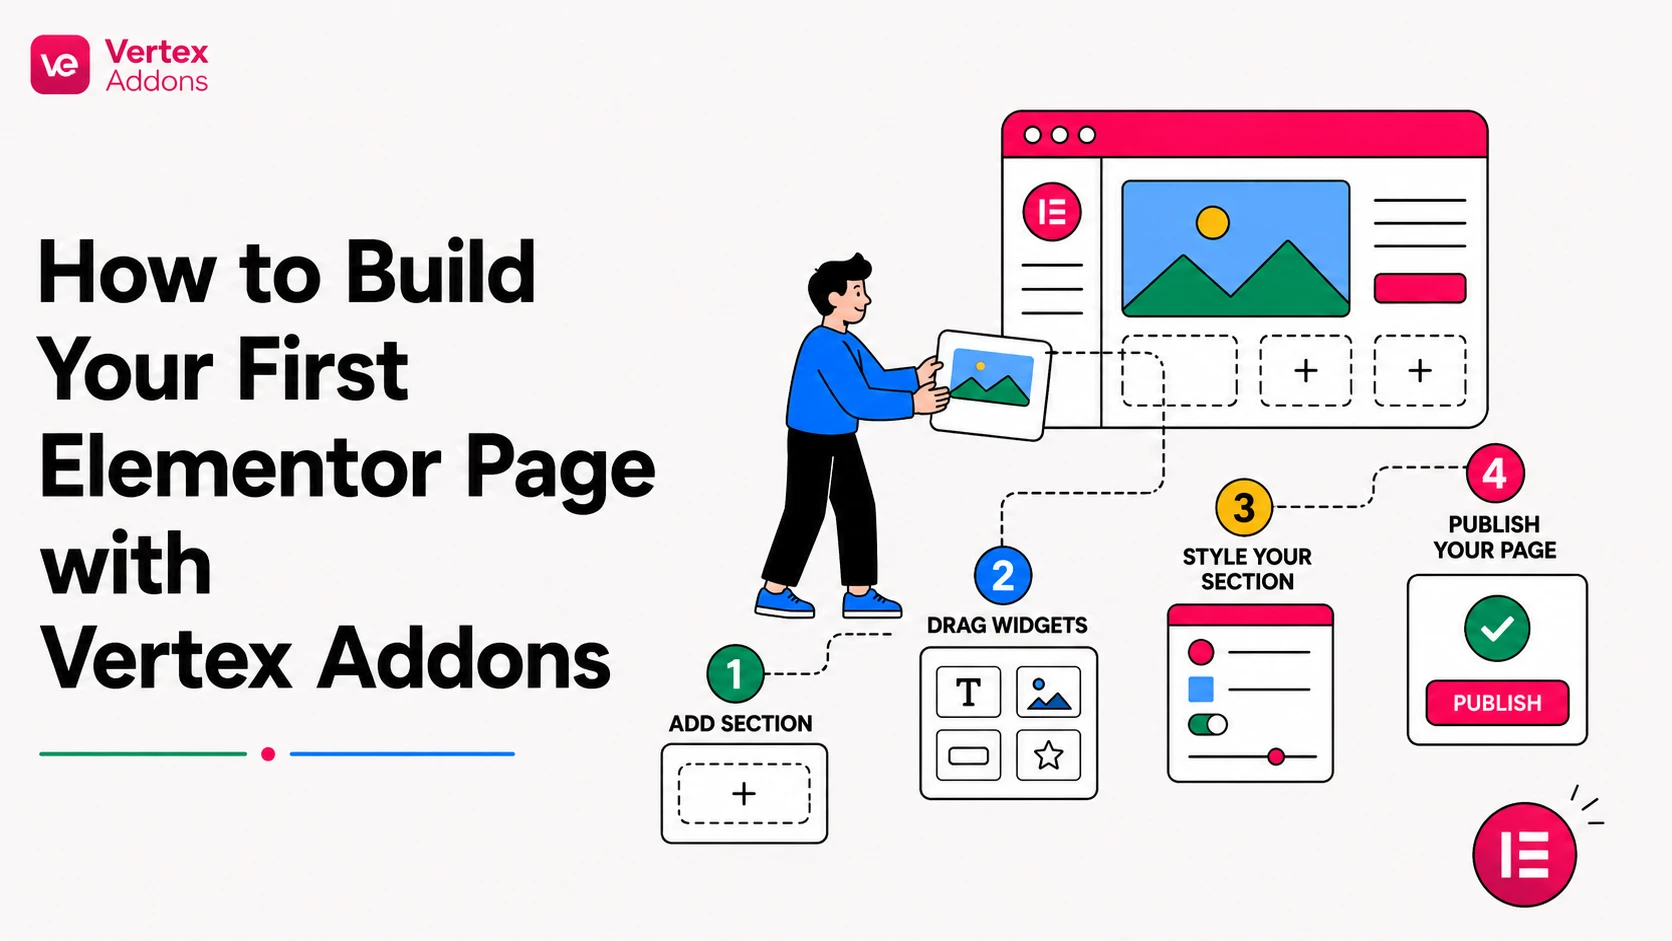
Learn a simple first-page workflow for using Vertex Addons with Elementor, from installation to choosing widgets, building sections, testing responsiveness, and publishing with confidence.
Elementor already gives WordPress users a visual way to build pages, but the real workflow challenge starts after the blank canvas opens. You still need to decide which sections belong on the page, which widgets should handle each job, and how much design detail is enough before the page becomes slow, crowded, or hard to maintain.
Vertex Addons helps with that middle step. It adds extra widgets and extensions to Elementor so you can build more polished sections without jumping between many separate addon plugins. The best way to start is not to test every widget at once. The best way is to build one useful page with a clean structure, a small number of widgets, and a clear goal.
This guide walks through a practical first-page workflow for Vertex Addons. It is written for users who already have WordPress and Elementor installed and want to create a real page instead of only exploring settings.
What you need before you start
Before building the page, make sure your setup is ready.
You need WordPress, Elementor, and Vertex Addons installed. The official Vertex documentation lists WordPress 5.0 or higher, PHP 7.2 or higher, and the latest free version of Elementor as requirements. If you are using Vertex Addons Pro, install it in addition to the free plugin and activate the license from the WordPress admin area.
For a first page, do not start with a complicated homepage. Choose a focused page type, such as a service landing page, a product intro page, a portfolio overview, or a simple campaign page. A focused page makes it easier to choose the right widgets and measure whether the design works.
Step 1: Define the job of the page
A strong Elementor page begins with a single job. Ask what the visitor should understand or do after landing on the page.
For example:
- A service page should explain the problem, present the service, show proof, and lead to a contact action.
- A product page should explain the value, show features, answer objections, and lead to purchase or demo.
- A portfolio page should show selected work, explain the process, and encourage inquiry.
This matters because widgets are not the strategy. Widgets are tools for presenting the strategy. If the page goal is unclear, you will keep adding sections without improving the result.
Step 2: Create a simple page structure
In WordPress, create or open the page you want to design, then choose Edit with Elementor. Start with a simple structure before styling anything.
A practical first-page structure can look like this:
- Hero section with headline, short copy, and primary button
- Feature or benefit section with three to four points
- Visual explanation or product/service detail section
- Trust section with testimonials, team, proof, or key stats
- Pricing, package, or next-step section if relevant
- Final CTA section
This structure gives you enough space to explain the offer without turning the page into a long brochure.
Step 3: Add Vertex widgets only where they solve a design problem
Once the structure is ready, choose widgets based on what each section needs.
For the hero section, a Creative Button can help make the primary action more visible. Use it for one important CTA, such as “Get Started,” “View Plans,” or “Book a Call.” Avoid using animated buttons everywhere, because too many animated CTAs can make the page feel noisy.
For benefit sections, Information Box can help group an icon, heading, and short explanation into a clean card. This works well when you need to explain three or four reasons to choose a service, product, or feature.
For pricing or package sections, Price Box can help present a plan, package, or offer in a structured way. Use it only when the visitor needs to compare options. If there is only one offer, a simpler CTA section may be clearer.
For interaction-heavy pages, widgets like Accordion, Tabs, Toggle, Flip Box, Slides, Testimonial Carousel, Timeline, News Ticker, Countdown, Form Builder, Advanced DataTable, and Advanced Map may be useful depending on the page goal. The important rule is to add interaction only when it helps the visitor understand or decide.
Step 4: Build the hero section first
The hero section should answer three questions quickly:
- What is this page about?
- Why should the visitor care?
- What should the visitor do next?
Use a short headline, one or two supporting sentences, and one main action. If you use the Creative Button widget, set the button text clearly and link it to the next step. In most cases, that link should go to a contact section, pricing section, checkout page, or another high-intent destination.
Keep the hero visually calm. The first page you build with Vertex Addons should teach you the workflow, not test every animation at once.
Step 5: Add the supporting content sections
After the hero, build a benefit or feature section. This is where Information Box-style cards can help. Keep each card short. A good card usually needs a title, one short paragraph, and a visual cue.
Then add one deeper explanation section. This can use regular Elementor layout tools, Vertex content widgets, media widgets, or dynamic widgets depending on the page type. The goal is to answer the visitor’s next question after the hero. For a service page, that may be “How does this work?” For a product page, it may be “What do I get?” For a portfolio page, it may be “What kind of results can you create?”
Put the workflow into practice
Build faster Elementor pages with Vertex
Explore the live demos when you want to see Vertex widgets in context, then compare plans when you are ready to choose access for your sites.
Step 6: Add trust and decision support
Visitors rarely act after only seeing a headline. Add a section that supports trust. Depending on your site, this could be testimonials, team members, a timeline, before-and-after examples, frequently asked questions, or a short feature comparison.
If you do not have testimonials yet, do not fake them. Use process, credentials, screenshots, examples, or clear explanations instead. Trust can come from clarity as much as from social proof.
Step 7: Check mobile before polishing desktop
Many Elementor pages look good on desktop first and then break on mobile. Do not wait until the end.
After each major section, switch between desktop, tablet, and mobile preview. Check spacing, button size, line breaks, image cropping, and whether hover effects still make sense on touch devices. Animated hover details can look great on desktop, but the button must still be understandable on mobile when hover is not available.
Step 8: Publish only after testing the real page
Before publishing, test the page like a visitor.
Click every button. Confirm each link goes to the right destination. Read the page from top to bottom without editing. Check the mobile view. Remove any widget that looks impressive but does not help the page goal. Then publish or update the page.
Common mistakes to avoid
The first mistake is adding too many widgets too early. Start with page structure, then add widgets where they improve clarity or action.
The second mistake is treating animation as conversion strategy. Effects can guide attention, but they cannot fix weak copy or a confusing offer.
The third mistake is skipping mobile testing. A landing page that looks good only on desktop is not finished.
The fourth mistake is using several CTA styles on the same page. Keep one primary action style and one secondary style.
What to learn next
After your first page is working, the next step is to create a repeatable design system. Decide which buttons, cards, spacing rules, and section patterns your site will reuse. That is where Vertex Addons becomes more useful over time: not just for one page, but for building consistent sections faster inside Elementor.
FAQs
Do I need Vertex Addons Pro to build a first Elementor page?
Not necessarily. You can start with the free plugin and use available free widgets. Vertex Addons Pro should be evaluated when you need Pro-specific widgets, extensions, or advanced features.
Should I use every Vertex widget on my first page?
No. Use only the widgets that support the page goal. A simple page with a strong structure is usually better than a crowded page with too many effects.
Where do I install Vertex Addons?
You can install the free plugin from WordPress Dashboard > Plugins > Add New by searching for “Vertex Addons for Elementor.” You can also upload a plugin ZIP from Plugins > Add New > Upload Plugin.
What is a good first widget to try?
Creative Button and Information Box are good starter widgets because they solve common landing page needs: clear calls to action and clean benefit cards.
Should I design desktop or mobile first?
You can start on desktop, but check mobile early and often. Spacing, buttons, and hover-based effects need special attention on smaller screens.
Next step
Explore Vertex Addons for Elementor and start with one focused page. Build the structure first, choose the widgets second, and publish only after testing the full visitor journey.
Next step
Choose the plan that fits your Elementor workflow
Review site limits, yearly or lifetime access, and the secure Webilia checkout path before purchasing.
Compare Vertex pricing